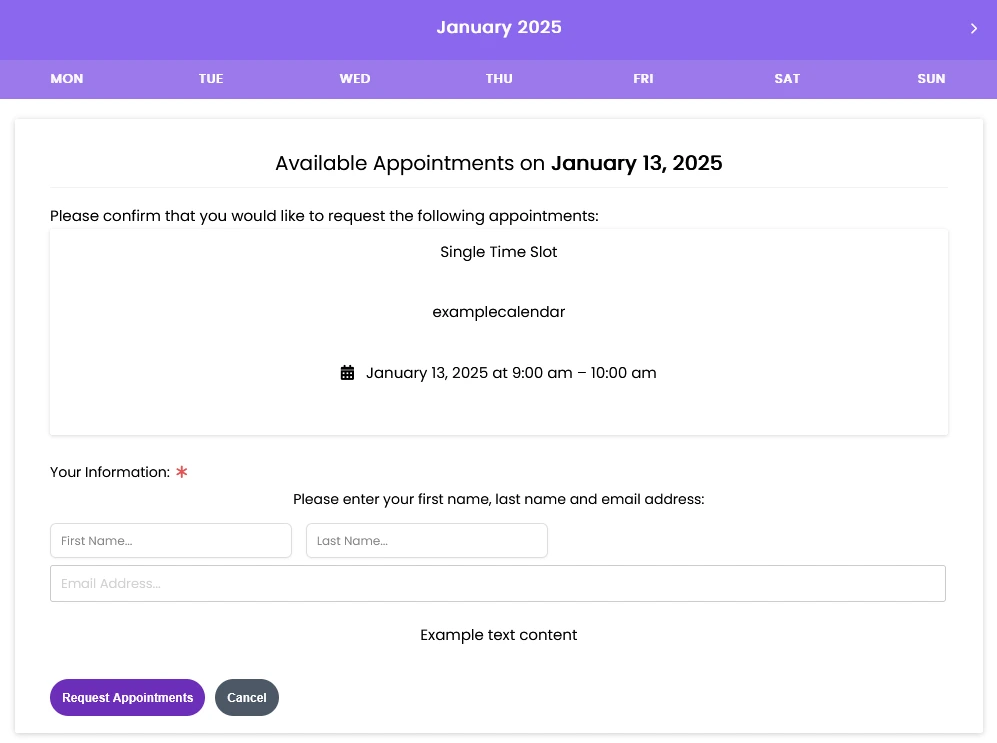
After saving the calendar, the calendar settings will be displayed, where you can change the calendar name, assign a different user, add available dates, and add custom fields to the form that the user fills out when booking an appointment.
Adding Time Slots #
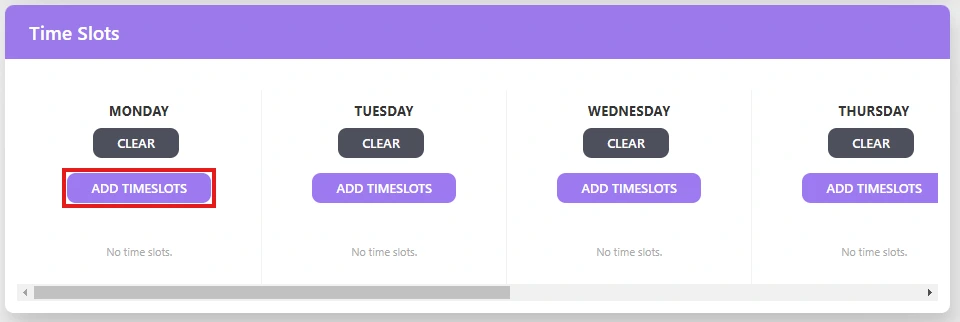
In the calendar settings, under the “Time Slots” section, press the “ADD TIMESLOTS” button.
Adding single time slots #
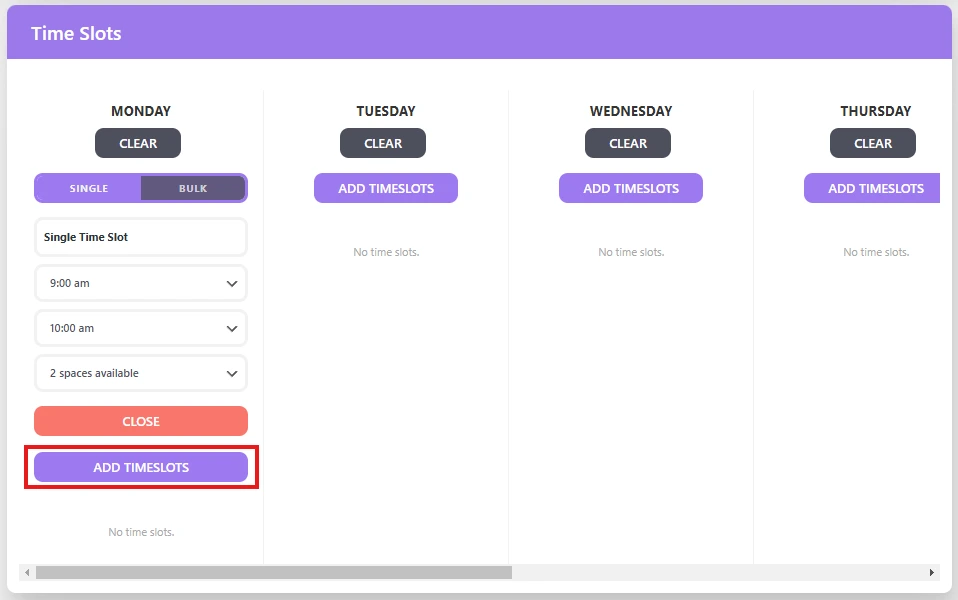
Next, select the time slot and the number of available spots. After filling in the fields, press the “ADD TIMESLOTS” button to confirm the selected time slot.
Adding Time Slots in Bulk #
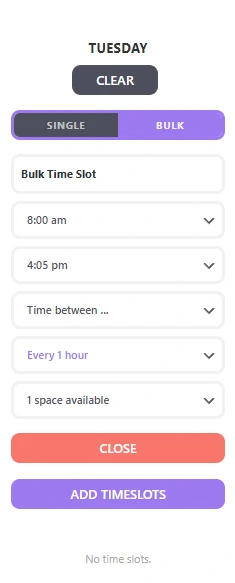
To add multiple time slots at once, after pressing the “ADD TIMESLOTS” button, select the “BULK” option.
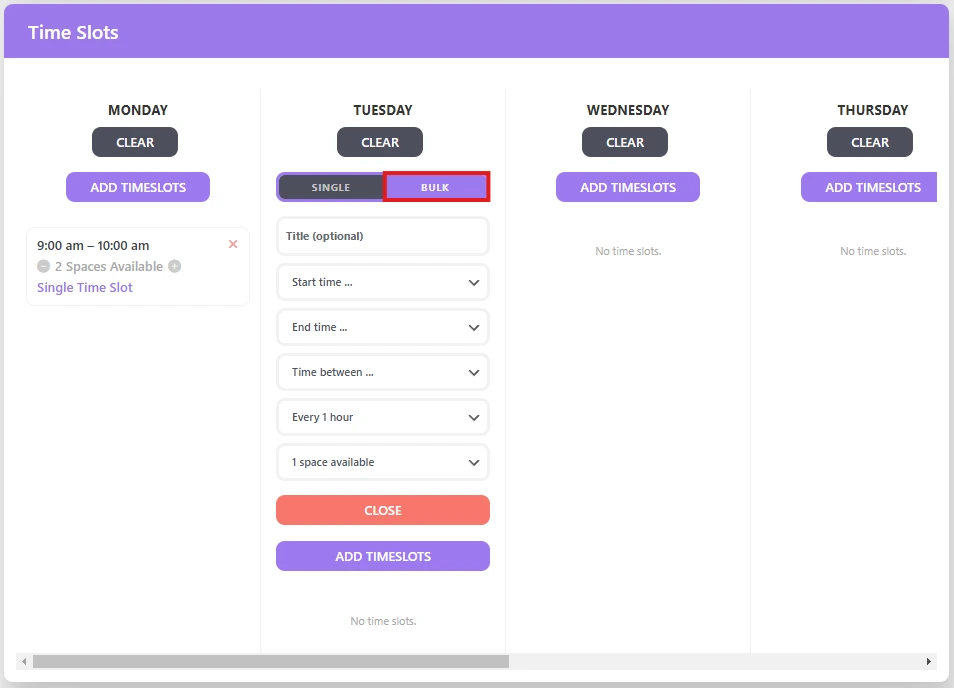
Next, enter the following:
- Start Time
- End Time
- Time Between (the break time between appointments)
- Duration of each appointment (every 30 minutes, every hour, every 2 hours, etc.)
- Number of available spots for each appointment
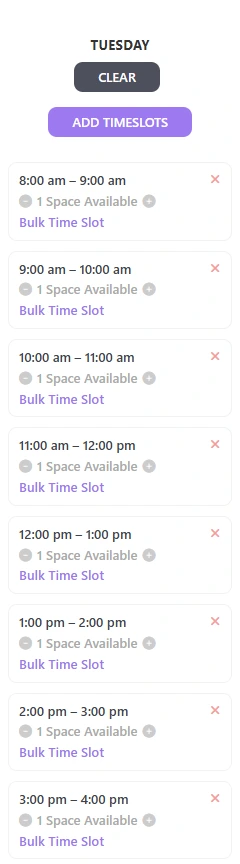
Below is an example where the following options were selected:
- Start Time – 8:00 am
- End Time – 4:05 pm
- Time Between – no time between selected
- Duration of each appointment – 1 hour
- Number of available spots per appointment – 1 space available
Custom Fields #
In the calendar settings, it is possible to add additional form fields that the user, depending on the settings, can or must fill out after selecting a given appointment in order to book it.
Adding fields to the form is done in the calendar settings under the “Custom Fields” section. To add a field to the form, select it from the list at the bottom and then fill in its properties.

Each field, except for the “TEXT CONTENT” field, has a property called “Required Field.” When this setting is selected, it means that the user must fill out the field; otherwise the user will not be able to book the appointment.

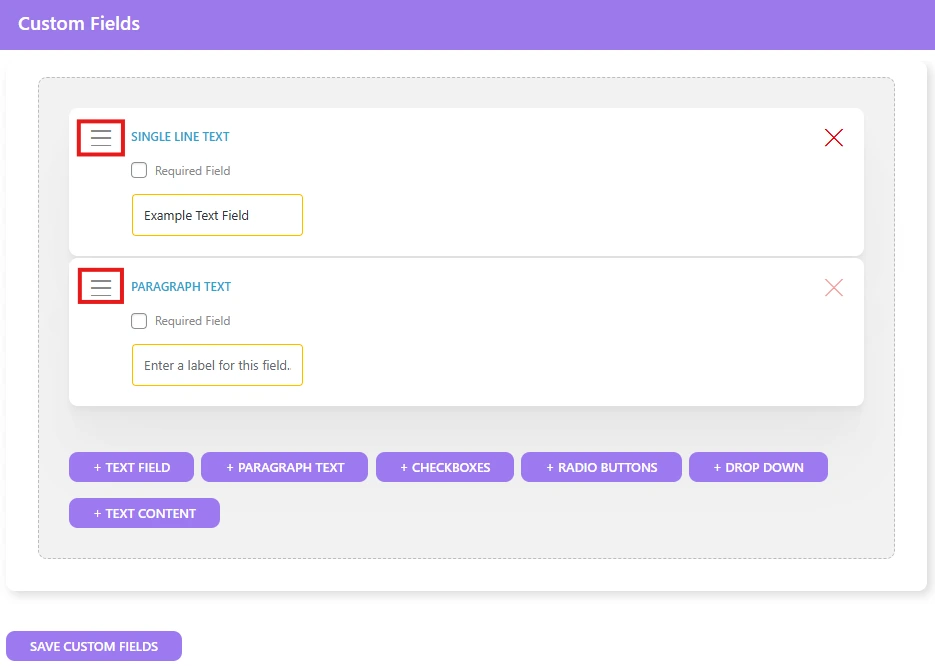
Added fields can be rearranged by holding the icon on the left side and dragging them to the desired position.
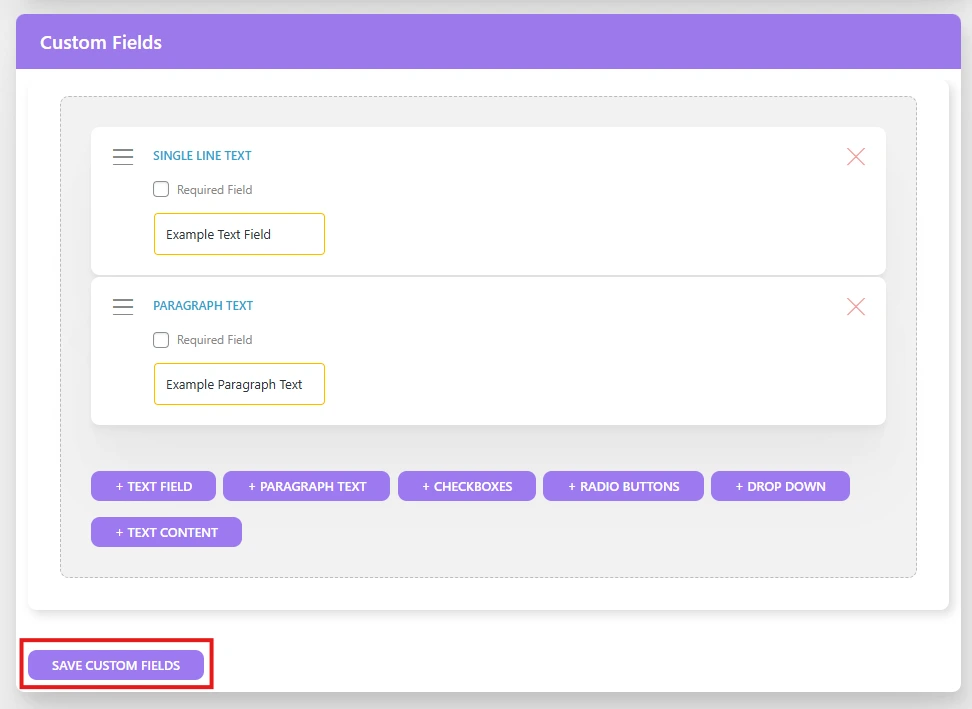
After adding additional fields to the form, you need to save the changes by clicking the “SAVE CUSTOM FIELDS” button.
Text field #
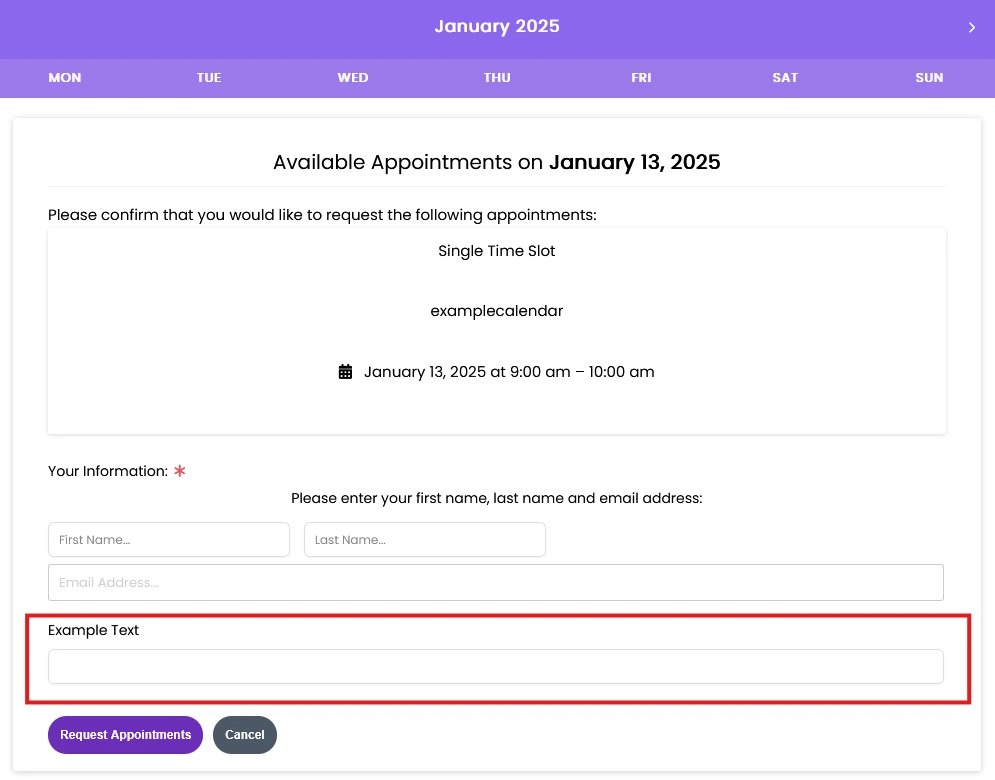
The text field allows for entering any text value.
To add a text field to the form:
- Press the “+ TEXT FIELD” button from the list.
- Choose whether the field should be required.
- Enter a label for the field.

Text field when booking an appointment:
Paragraph text field #
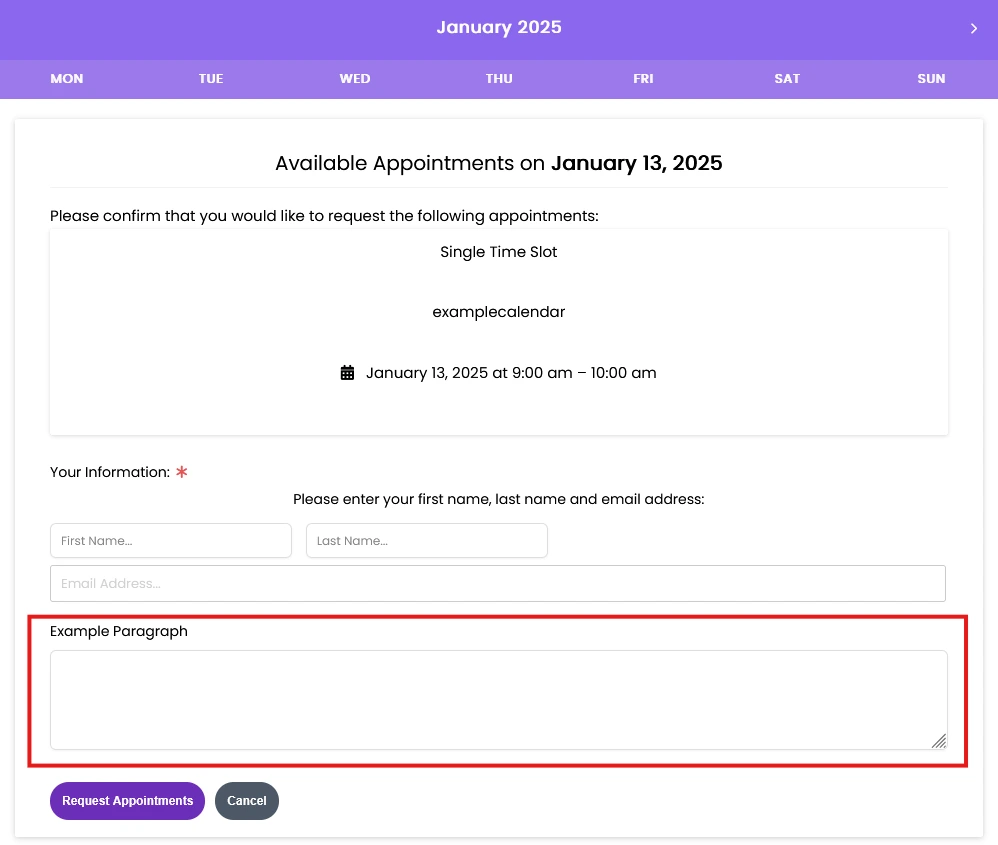
The paragraph text field allows the user to enter a longer description.
To add a paragraph text field to the form:
- Press the “+ PARAGRAPH TEXT” button from the list.
- Choose whether the field should be required.
- Enter a label for the field.

Paragraph text field when booking an appointment:
Checkboxes #
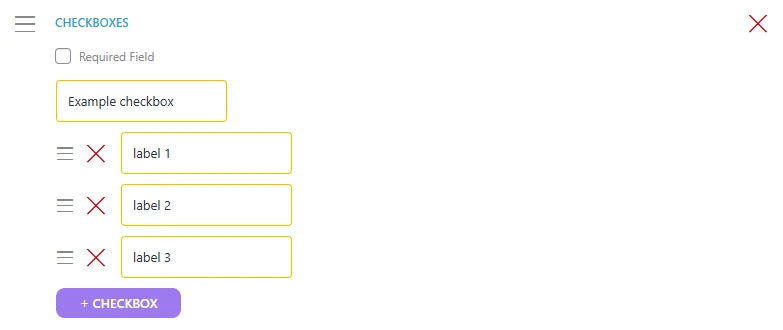
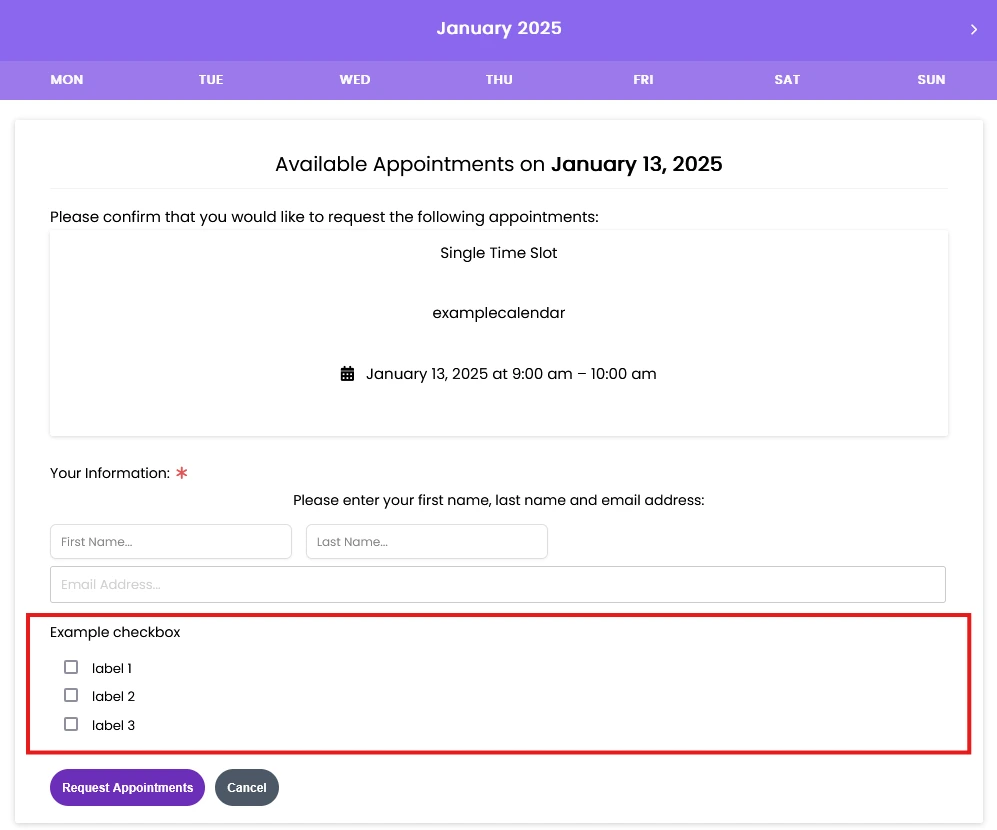
Checkboxes consist of a description and defined multiple-choice options. The user can select all the options defined in this field.
To add a checkbox to the form:
- Select the “+ CHECKBOXES” button from the list.
- Choose whether the field should be required.
- Enter a label for the field.
- Press the “+ CHECKBOX” button to add a multiple-choice option.
- Enter a label for the option.
- Repeat steps 4 and 5 to add any number of options.
Checkbox when booking an appointment:
Radio buttons #
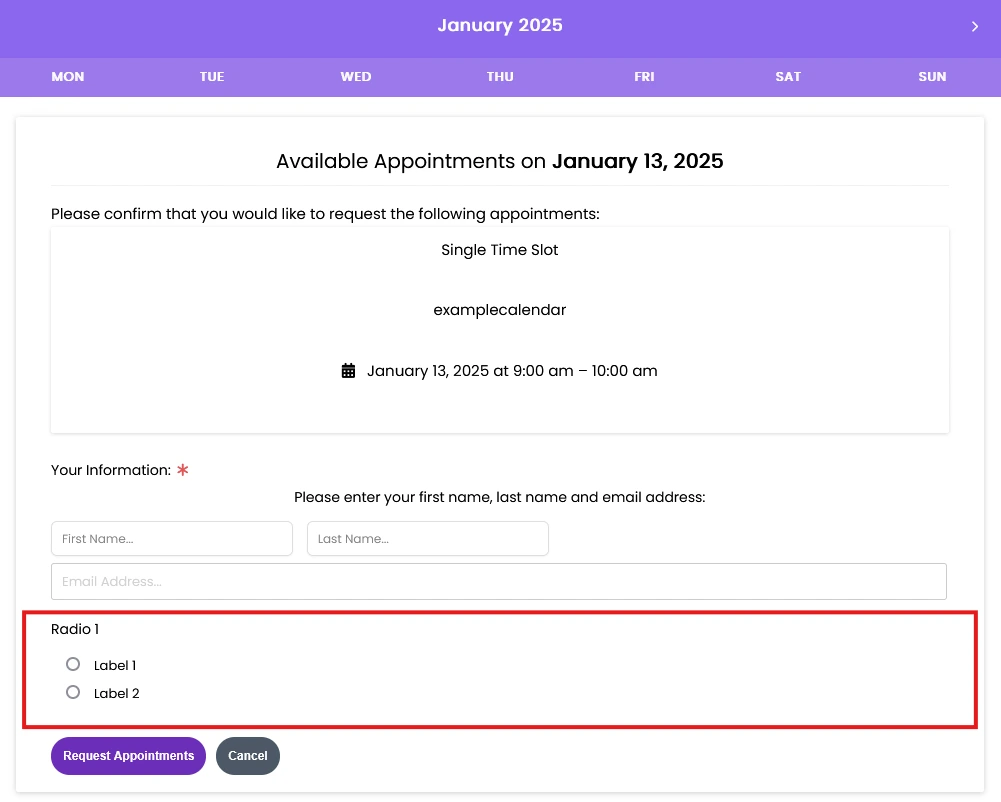
Radio buttons allow the selection of only one value from all the defined options.
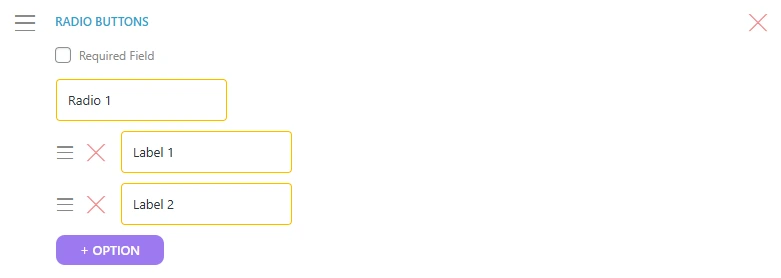
To add radio buttons to the form:
- Select the “+ RADIO BUTTONS” button from the list.
- Choose whether the field should be required.
- Enter a label for the radio buttons.
- Press the “+ OPTION” button to add an option.
- Enter a label for the option
- Repeat steps 4 and 5 to add any number of options.
Radio buttons when booking an appointment:
Drop down #
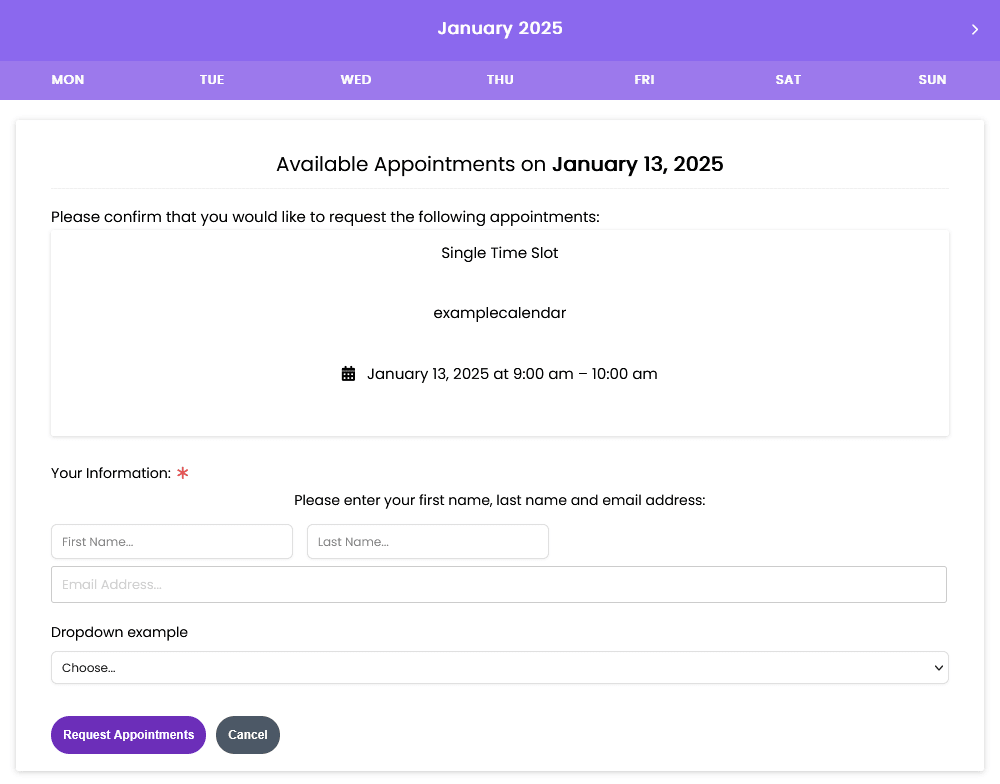
A dropdown list allows the user to select one option from the entire defined list.
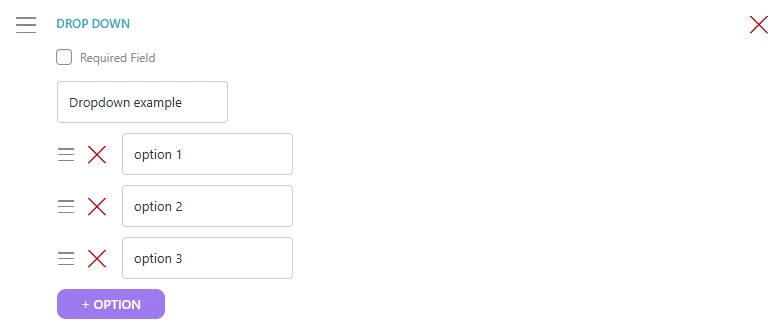
To add a dropdown list to the form:
- Select the “+ DROP DOWN” button from the list.
- Choose whether the field should be required.
- Enter a label for the dropdown list.
- Press the “+ OPTION” button to add an option.
- Enter a label for the option.
- Repeat steps 4 and 5 to add any number of options.
Drop down when booking an appointment:
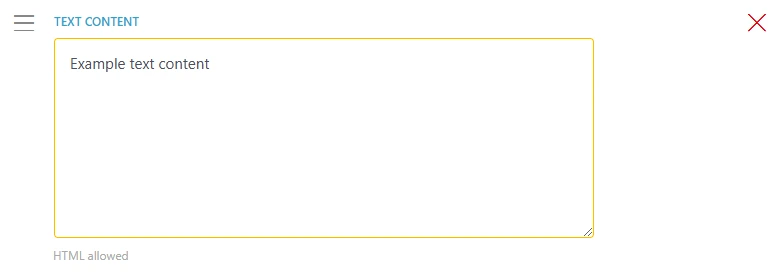
Text content #
Text content allows for entering any text that the user can read when booking an appointment.
To add text content to the form:
- Select the “+ TEXT CONTENT” button from the list.
- Enter the text.
Text content when booking an appointment: